-40%
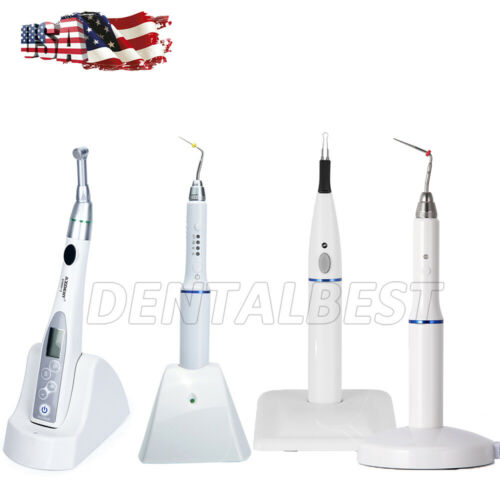
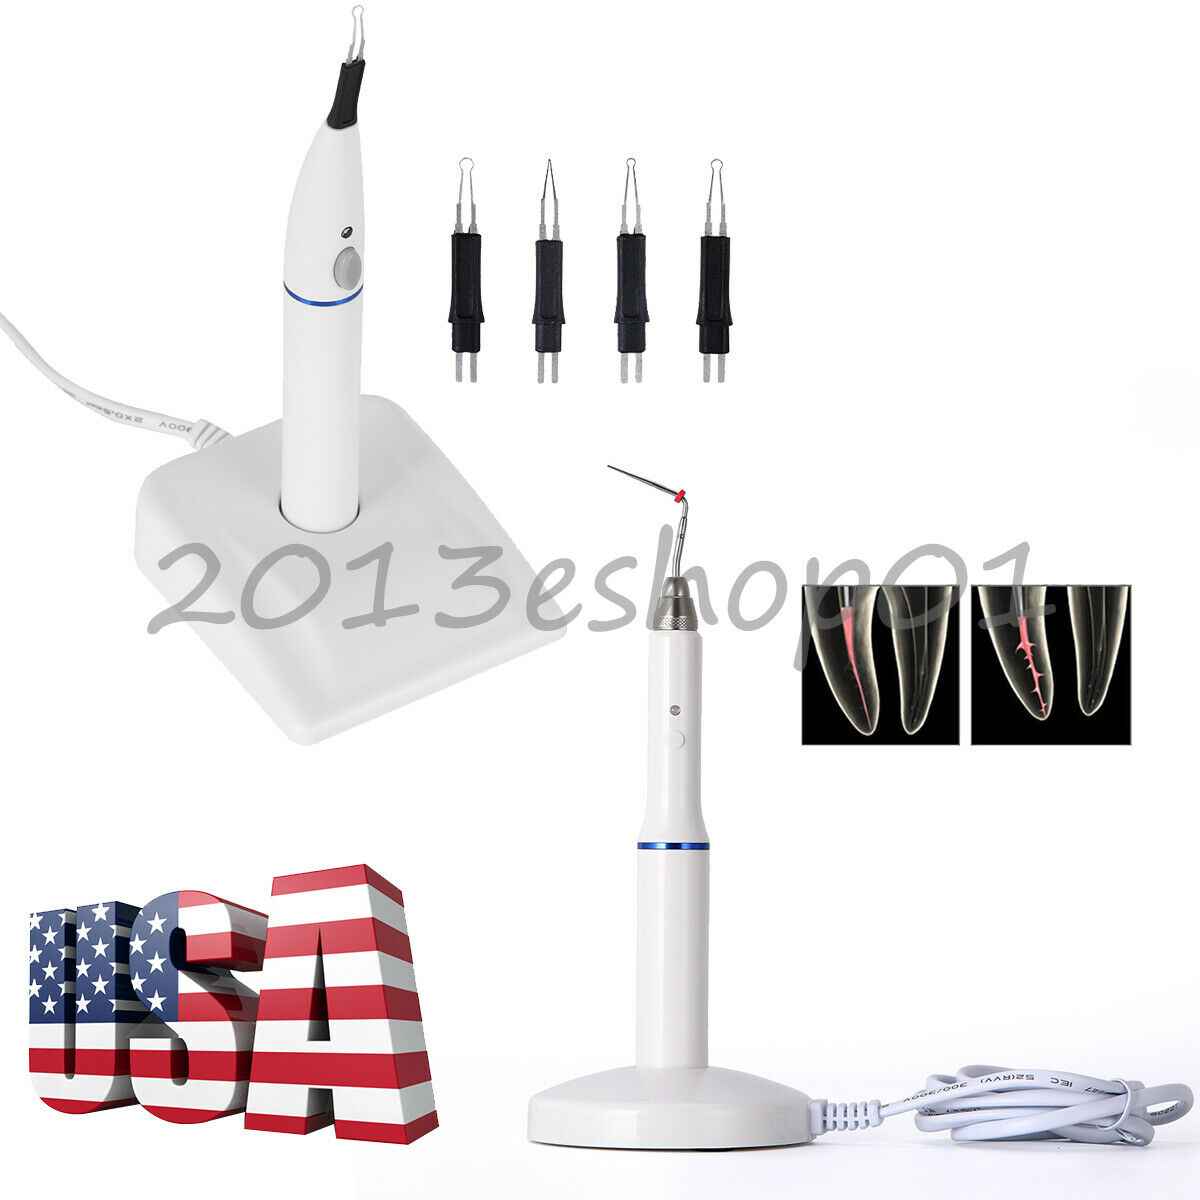
Dental Endodontic Continuous Wave Backfill Obturation System Gutta Percha Gun
$ 475.19
- Description
- Size Guide
Description
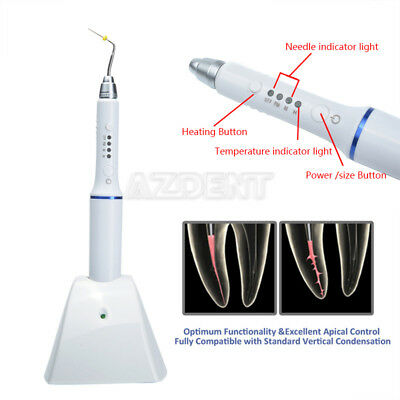
Cordless Continuous Wave Obturation3D obturation is critical in perfect root canal therapy as it gets high compaction to prevent leakage,
entomb remaining bacteria and reduce the chance of reinfection. Denjoy's Free Fill obturation
system was designed to be used with the continuous wave warm vertical compaction technique. Its
cordless design gives dentists the freedom and flexibility to perform predictable high quality 3D
endodontic obturation without cords or wires getting in the way
Preparation
1. Master Cone Fit.
Select same gutta-percha point as previous used the final NITI file
Confirm tugback, insert the master cone to the exact WL and fell for a"tug
if there is no appropriate tugback, cut around 0.5mm to try again
Nornally, cut 0. 5mm for straight root canal but not for curved one
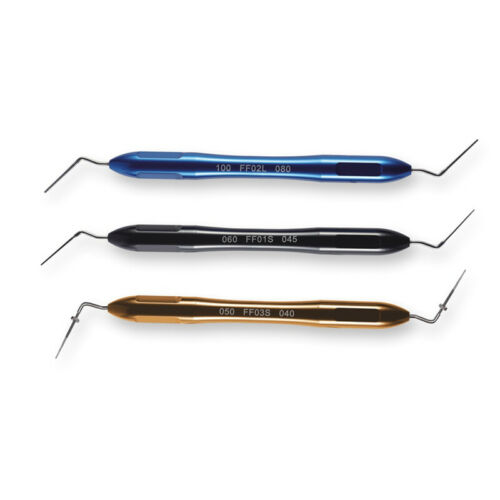
2, Hand Plugger Fit
Prepare 2-3 hand pluggers to condense, for the first plugger, select the
appropriate one that reaches around -5mm, others are 5mm by 5mm from the
WL until the orifice
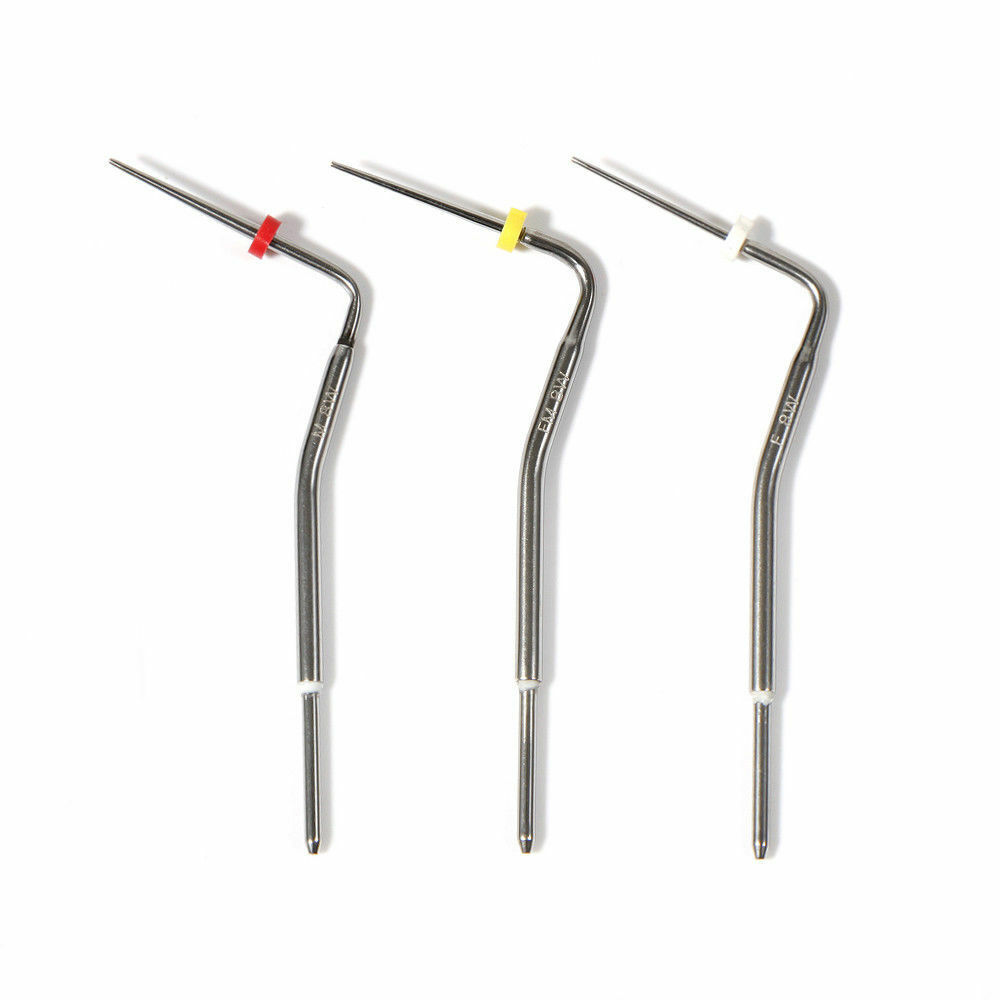
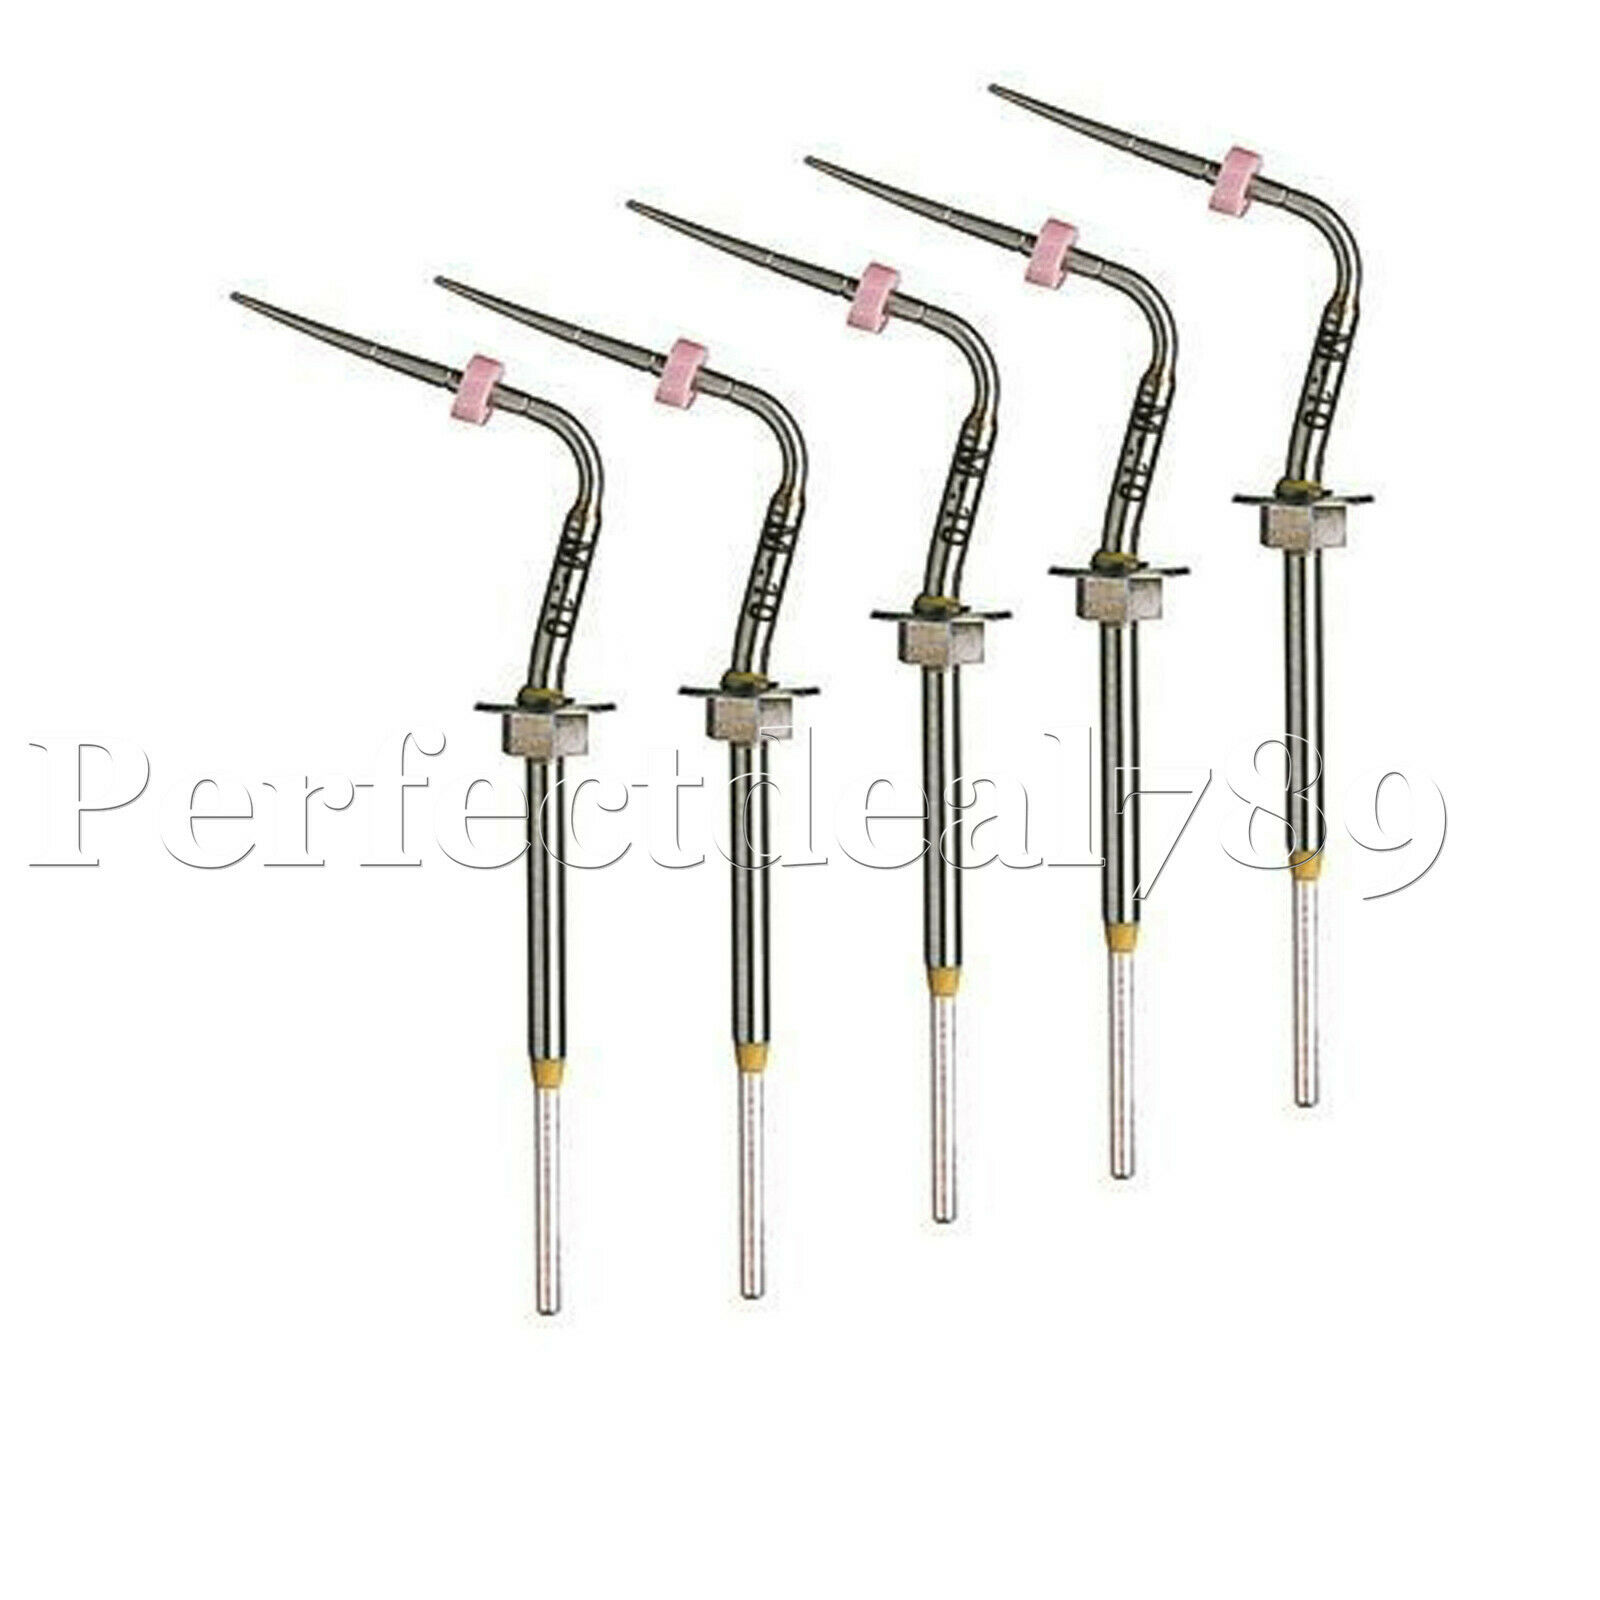
3, Heated Plugger Fit:
Select the appropriate one that can be inserted to at least 4-6mm short of WL,
then preset the rubber stopper(To prevent burns, confirm that the power is
off before inserting the heated plugger
Deep Downpack:
Step 1: Apical Third Condensation: Insert the master cone
to the exact WL coated with sealer, use a gentle pumping
action to sure that the root canal walls are full of sealer
Step 2: Adjust to the desired temperature according to the
selected heated plugger, activate the operating switch, cut
off the excess cone at the orifice level. and then condense
the gutta-percha with selected hand plugger vertically and
slightly
Step 3: Set the heated plugger on the cone vertically,
activate the operating switch while push towards the
apex. Stop when you get to the marked working leghth
continue to exert apical pressure until the cone cools
(Notice: complete the whole process less than 4 seconds)
Step 4: Hold in place for 10 seconds without heating, give
a 1-second burst of heat, and hold on for another 1-second
without heat, then pull from canal. Use pre-selected hand
plugger to condense the apical 1/3rd and lateral canals
Obturator Backfill:
Step 1: Turn on the obturator and wait
until the preset temperature is reached
insert the iniection needle unitl it contacts
the cut section of the cone. wait 5 seconds
to allow the apical fill to soften slightly
Step 2: Incremental injection, pull the
trigger to fill the canal 3-4mm, draw
back the injection needle slowly during
the backfill
Step 3: Use the selected hand plugger
to condense the backfilled gutta-percha
Immediately
Step 4: Reinsert the needle, hold in
place for 5 seconds to soften slightly,
and re-backfill until apical foramen
then repeat step 3


